You can upload photos directly from your computer or from the web or from your mobile device.
Uploading photos from your computer:
You can upload photos from your computer to your blog by clicking the Image Icon in the Post Editor's toolbar. The image icon is the one that looks like a picture in a frame, and is between the Link icon and the video icon.


When you click this icon, you'll get a window that allows you to select an image or multiple images from your computer. There will be several choices on the left-hand side of the screen, allowing you to upload images from: (i) this blog; (ii) Picassa Web Albums; (iii) your phone; (iv) your webcam; and (v) a URL.

To upload an image directly from your computer, you don't need to pick any of those. Instead, click the Choose Files button at the top of the screen.

Then scroll through the files on your computer (much as you would when adding a new song from your computer to your iTunes library or when attaching a file to an email) to locate the images you want. You can upload images in JPG, GIF, PNG, TIF or BM format.
Once you find the image you want, select it (much as you would when attaching a file to an email). The image will upload onto the Blogger window. Once it has finished uploading, click on the image and hit the Add Selected button.
You can upload multiple images simultaneously and can arrange them on the screen much the way you would in a PowerPoint slide.
Please note that you can only add picture images through this function; you cannot make an image into a Microsoft Word document and upload it using this function.
The image will appear in the draft post that you're working on. Once you're satisfied with the alignment and size of the photo, click on Update and the changes you have made to the post will be published.

Then click on View Blog to make sure that in the published blog the image is set up the way you expected.

Uploading images from the web:
You can also upload an image directly from the web without saving it onto your computer. To upload directly from the web, click on the image icon in the Post Editor's toolbar. This time, instead of bypassing the options on the sidebar listed below Upload, select From a URL.

This will bring up a screen that asks you to paste the link. Simply paste the link and hit Add Selected at the bottom of the screen.

This will bring up a screen that asks you to paste the link. Simply paste the link and hit Add Selected at the bottom of the screen.
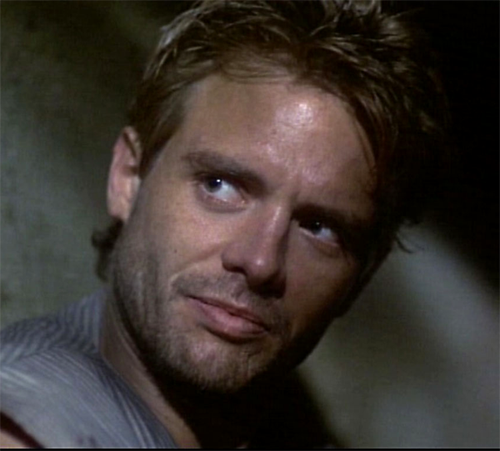
I added this photo directly from the web. It is from The Terminator and all copyrights are retained by the holder.
How can you change the size of the photo you've uploaded?
You can change the size of the photo. After you upload it, right-click on the photo. It will bring up a menu of options. Many of the options relate to the size of the image, and range from small to extra-large. The image below is the extra-large size.
As you can see, the photo extends beyond the boundaries of the posts column. However, in the draft form, it appears to be within the boundaries of the column and in line with the text boundaries. Therefore, once you publish a photo, it is important to click on the View Blog icon to see how the blog itself looks.
 |
You can add a caption to a photo after you upload it. Right-click on the photo to bring up the list of options. Click on the Add a Caption Option. Below the photo, the words "add caption" will appear. Simply type your caption and they will appear in place of those words. If you wish to change the font, font color, or font style, simply highlight the caption (just as you would with a Microsoft Word document) and use the toolbar to make the changes.
You can also change the background color of the caption by highlighting the caption and clicking on the Text Background Color icon, which looks like the tip of the marker (it is similar to the icon in Microsoft Word and is between the Text Color icon and the Link icon).
| |
| Me and Roger on the Cape |
How can you edit a photo?
You cannot edit a photo directly in Google Blogger. To edit a photo (e.g., to crop the image), you have to use a photo editing program to make all changes to the image before uploading it. You can use Google Picasa to edit the image, and save it in that program, and then upload the image from Picasa.
How can you upload a video?
Click on the Film Strip icon in the post editor toolbar (it is next to the Insert Image icon).

A window will appear with choices about the location of the video. You can upload a video directly from your computer, your phone or your webcam. You can also upload a video from YouTube by clicking on the YouTube icon and then copying the URL, pasting it into the search box, and clicking on Select.


A window will appear with choices about the location of the video. You can upload a video directly from your computer, your phone or your webcam. You can also upload a video from YouTube by clicking on the YouTube icon and then copying the URL, pasting it into the search box, and clicking on Select.

Blogger accepts AVI, MPEG, QuickTime, Real and Windows Media files.
Your video must be less than 100MB in size.
This video of the MI-5/Spooks Season 9 intro was uploaded from YouTube. The copyright belongs to Spooks/MI-5 of the BBC.
No comments:
Post a Comment